Starting with OSDEA-GUI
Screenshots were taken from windows as this is the most common OS but the software will run without problem on Linux as well (mac not tested). On linux, OSDEA-GUI will look & feel like a native linux application.
⇒ Actions you will need to follow will be highlighted in bold.
Open OSDEA-GUI
To start OSDEA-GUI, you will need to have downloaded OSDEA-GUI and installed it correctly on your system.
Start OSDEA-GUI by double-click on the OSDEA-GUI-vX.X.jar file. See the troubleshoot section for help if double-clicking doesn’t start the program on your system.
The welcome screen of OSDEA-GUI is as follows:
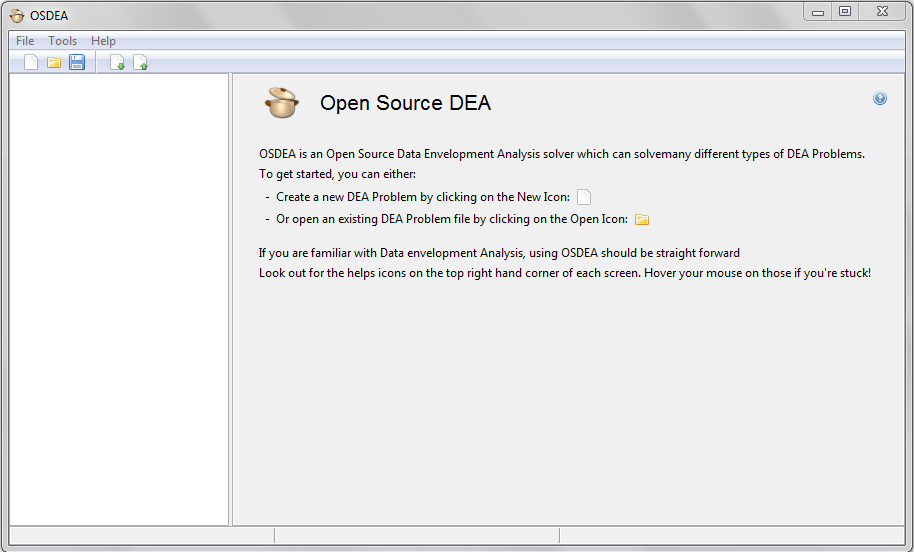
Creating a new DEA Problem
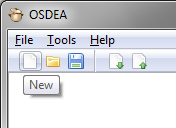
Create a new DEA Problem (deap) by clicking on the ‘New’ icon. This icon is accessible either from the toolbar or from the File menu.
Once created, browse the deap by clicking on the relevant icon in the left hand side tree. New DEA Problems look as follows:

Understanding the program layout
The left hand side of the program is the navigation. You can open and manage different deap simultaneously via this tree.
The frame on the right hand side is the screen corresponding to the item you clicked on in the navigation. The picture above shows the main screen of the deap which:
- Tells you whether you are ready to solve (in the pictures above, you still need to import data, configure the problem variables and model type before you can solve).
- Lets you solve or reset the DEA Problem.
- Lets you rename the problem (white textbox named New DEA Problem).
The bottom status line tells you:
- On the left hand side (empty in picture above): notifications about recent actions/problems.
- In the middle: the item you’ve just selected.
- On the right hand side: the status of the frame you’ve selected. For example in the picture above, you still need to do a few things before you can solve.
