Importing Data in OSDEA-GUI
You can go to the previous step here.
Import some data
Make sure you have selected the deap for which you want to import data for in the navigation. This is important has otherwise any data you might have previously imported will be overwritten.
Before you go any further, download the sample file here.
To import some data, click on the Import Data icon on the toolbar (or from the Tools menu):
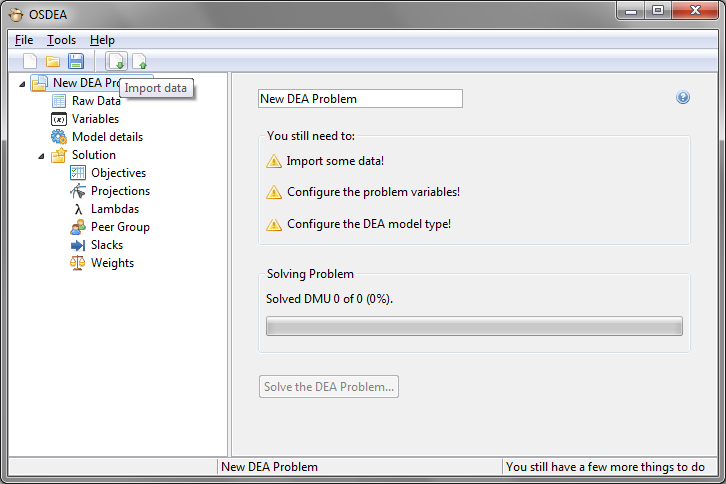
A wizard will pop-up and prompt you to browse to the csv data file:
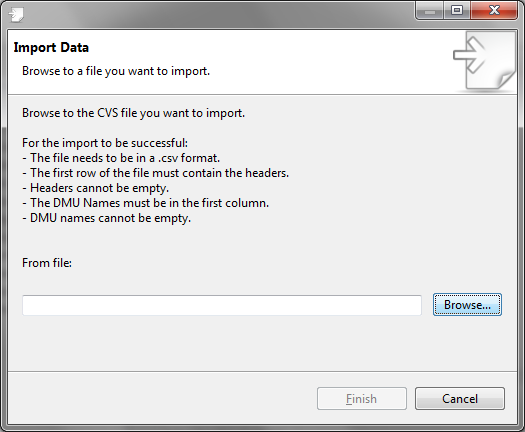
Browsing to file to import
On the wizard, click on the ‘Browse’ button. This opens an window to browse to your file (Example Dataset.csv). Browse to the file you’ve just downloaded and click OK.
When you’re back on the wizard, click finish, this will import your data into your deap:
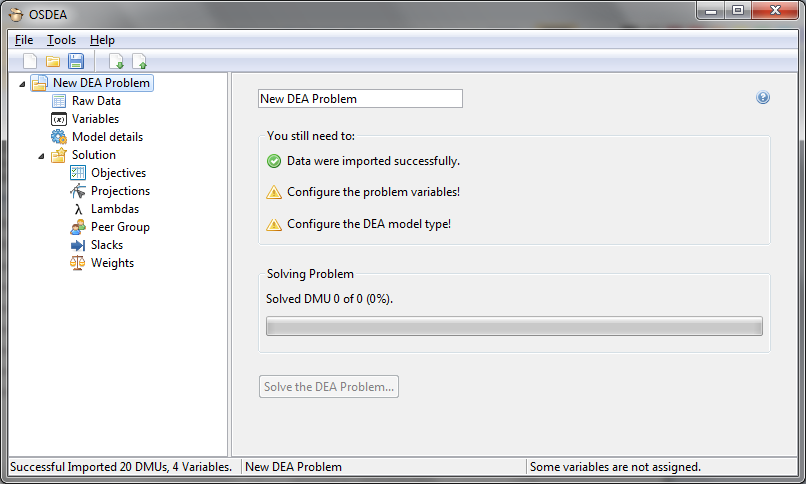
Successful import
Please note that the following rules needs to be followed in order for the import to be successful:
- The file must be in csv format.
- The first row of the file must contains the headers.
- The headers cannot be empty.
- The DMU Names must be in the first column.
- DMU Names cannot be empty.
- The data must be numeric (double).
If any of these condition is not respected, the import will be cancelled. Please also note that all the variables in the import file will need to be included in the deap (i.e. they will all need to be configured as input or output).
In the example above, the data was successfully imported as per indicated by the green tick icon on the main screen of the deap.
See the imported data
You can see the imported data by clicking on the ‘Raw data’ item of the deap in the navigation panel. This shows the data you’ve just imported (you cannot edit the data):

See imported data
